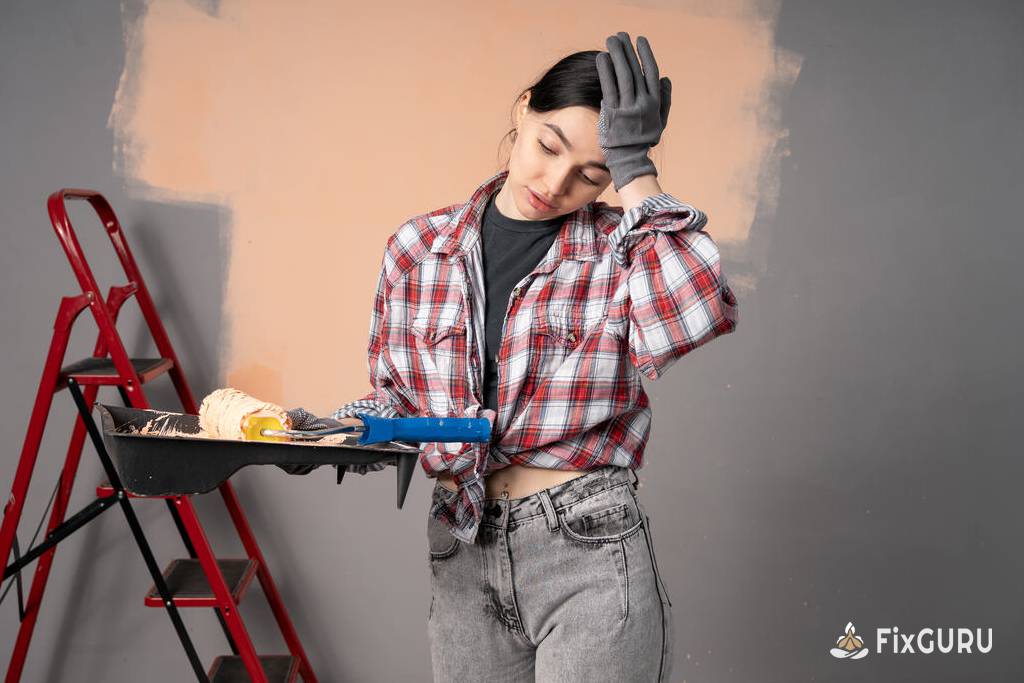
A fresh coat of paint is one of the most transformative and cost-effective ways to update your home. However, what seems like a straightforward DIY project can quickly go awry, leading to frustrating results that are all too easy to spot.
At FixGuru.hu, we believe a great paint job is 90% preparation and 10% application. To help you get it right the first time, we’ve compiled the most common painting mistakes and our expert tips on how to avoid them.
Mistake #1: Skipping the Prep Work
This is the cardinal sin of DIY painting. Painting over a dirty, uneven surface will magnify every flaw.
-
The Result: Peeling, chipping paint, and an uneven finish that highlights every piece of dust and grime.
-
The Fix:
-
Clean: Wash walls with a mild soap and water solution to remove grease and dirt.
-
Repair: Patch holes and cracks with spackle, then sand smooth.
-
Sand: Lightly sand glossy surfaces to help the new paint adhere.
-
Prime: Always use a primer on patched areas, stains, or when making a dramatic color change.
-
Mistake #2: Using the Wrong Tools
Using a cheap brush or roller for the entire job is a recipe for disaster. The right tool makes all the difference.
-
The Result: Streaky finishes, bristles stuck in the paint, and an overall unprofessional look.
-
The Fix:
-
Brushes: Use synthetic brushes (nylon/polyester) for latex paints and natural bristle brushes for oil-based paints. Invest in a quality 2-inch angled brush for cutting in and a 1-2 inch straight brush for trim.
-
Rollers: Use the correct nap thickness. A short nap (1/4″) for smooth walls, a medium nap (3/8″) for textured walls, and a long nap (3/4″+) for rough surfaces like stucco.
-
Mistake #3: Skipping the “Cutting In”
Trying to paint an entire wall with just a roller and getting paint on the ceiling and trim is a classic error.
-
The Result: A wobbly, messy line where the wall meets the ceiling, trim, and corners.
-
The Fix:
-
Cut in first. Use a high-quality angled brush to paint a 2-3 inch strip along the edges of the ceiling, corners, and trim.
-
Then roll. Paint the main body of the wall with a roller while the cut-in edges are still wet. This helps the two blend seamlessly, hiding the brush strokes.
-
Mistake #4: Applying Paint Too Thickly
It’s tempting to load up the roller to get the job done faster, but this causes major problems.
-
The Result: Drips, sags, long drying times, and an uneven, textured finish. The paint can also wrinkle as the surface dries faster than the underlying layers.
-
The Fix:
-
Less is more. Load your roller evenly, then roll off the excess paint on the ribbed part of the tray to avoid over-saturation.
-
Use multiple thin coats. Two thin coats will always look better and last longer than one thick, gloopy coat.
-
Mistake #5: Ignoring the Weather & Environment
Where and when you paint matters more than you think.
-
The Result: Paint that won’t dry, blisters in direct sunlight, or mold growth in humid rooms.
-
The Fix:
-
Temperature: Avoid painting in extreme cold or heat. The ideal temperature is usually between 50°F and 85°F (10°C – 29°C).
-
Humidity: High humidity prevents paint from curing properly. Use a dehumidifier or air conditioner if necessary.
-
Ventilation: Ensure the room is well-ventilated by opening windows and using fans, but avoid creating strong drafts that can blow dust onto wet paint.
-
Mistake #6: Not Using Painter’s Tape Correctly
Painter’s tape is a helper, not a foolproof forcefield.
-
The Result: Paint bleeding under the tape, or worse, peeling off your fresh paint when you remove it.
-
The Fix:
-
Press the edge firmly. After applying the tape, run a putty knife or your fingernail along the edge to seal it completely.
-
Remove at the right time. Pull the tape off slowly at a 45-degree angle when the paint is dry to the touch but not fully cured (check tape instructions; some are designed for longer stays).
-
Mistake #7: Rushing the Job
Impatience is the enemy of a perfect paint job. Rushing through drying times is a surefire way to ruin your hard work.
-
The Result: Peeling tape pulls up fresh paint, roller marks don’t level out, and second coats can reactivate the first, creating a sticky mess.
-
The Fix:
-
Respect the recoat time. This is crucial! Check the paint can for the manufacturer’s recommended drying time between coats. This is not a suggestion—it’s a requirement for proper adhesion and finish.
-
A little patience and the right technique are all that stand between a sloppy weekend project and a beautiful, long-lasting finish that you can be proud of. By avoiding these common pitfalls, you’ll ensure your painting project looks like it was done by a pro.
Happy painting!
The Team at FixGuru.hu